
Just returned from Disney!! (And we're still a little sleep deprived!) I plan to post some Disney tips and lists very soon, so be on the lookout for those.
My bags were packed and I was ready to go, but with only one problem... they were not identified. Sure I could have grabbed a little paper tag at the airport and quickly scratch out my name while I was trying to wrangle two toddlers and 8 bags of stuff in the check-in line.... yikes! Not a good scenario!

So I whipped up these address cuffs really quickly. They took about 15 minutes each. Super easy and they upped the cute quotient on my bags considerably!
 Wanna make some? Here's what you'll need:
- 4 1/2 by 3 3/4 inch piece of fabric
- 1 by 2 inch piece of thick, flexible plastic (I cut up a bag that some new bedding came in. You could also use an old shower curtain or a thick plastic bag... something like that.)
- Card stock paper
- Snaps
- Note: All seam allowances are 1/4 inch unless otherwise specified
First, fold the fabric in thirds lengthwise so that the top and bottom sides overlap about 1/2 inch, then iron to make creases that will serve as guidelines. Draw a rectangle on the wrong side of your fabric in the middle of the two ironed creases. Cut the fabric in the center of the rectangle in an "X" pattern with the ends of the "X" in the corners of the rectangle.

Next, press the flaps of the "X" down like the picture below.

Starting about 1/4 inch from the edge of the rectangle, sew a larger rectangle around the perimeter of the cut out rectangle to make your address window. After this step you can cut the excess fabric from the "X" flaps.
 Then place your plastic on top of the window on the wrong side of your fabric and sew it down. It's slippery, so you'll want to pin it in place and sew slowly to prevent it from moving.
 Next, fold over the right and left sides of the address cuff and sew them down.
Fold the cuff in half lengthwise and sew down the length of the cuff.
 Before you flip the cuff inside out to see the prettier side of your project you'll want to press down the seams. Be careful to turn down the heat on your iron and press quickly so that your plastic doesn't shrivel.
 Now for the fun part! Turn your cuff inside out and press again.
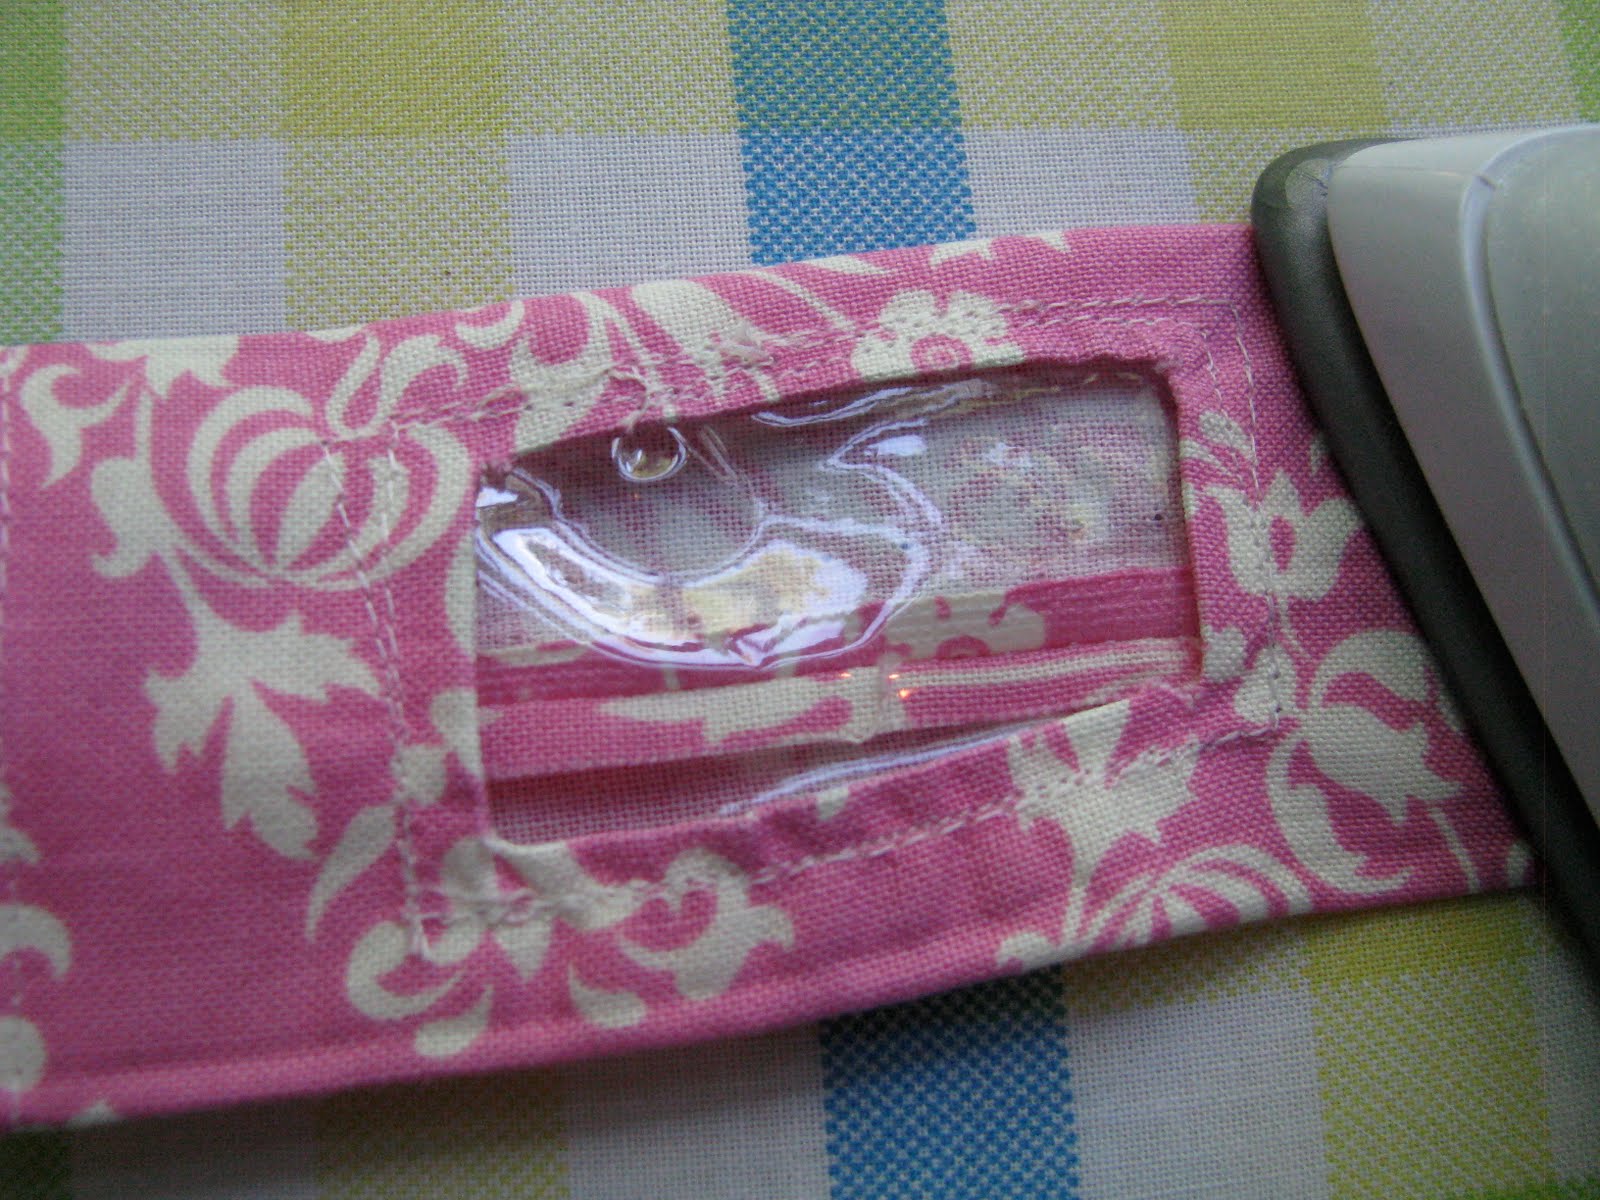 For the snaps, you'll want to follow these directions carefully or you won't be able to switch your information out if you ever move. Install the "female" side of the snap completely through one side of the project, so that the side of the snap that will receive the other side is facing the back (like the snap on the left side in the picture below). For the "male" side of the snap, you'll want to install it so that it faces the front of your cuff (like the snap of the right side in the picture below). Be sure that you don't install it through your entire project though... just the front half of the cuff.
Snaps installed correctly will allow the cuff to wrap around your luggage strap like this:

Finally, cut a small piece of card stock paper, write your information on it and slip it in place. Thanks for all of your excellent comments and suggestions on my last post! One of my favorite comments came from Rebecca who said, "Replace your address with your email address and mobile phone number. That way someone who finds your lost bag can get in contact with you to return it, but a less-than honest person that finds it can't use the house keys inside to break in."
That is a great suggestion and I wish I had done that on my cuffs so you wouldn't have to look at my address all edited out. Genius!

3 comments:
What a cool idea!! I love that it wraps around the strap - nothing to hang down and get caught on something else.
I linked to your tutorial over at Craft Gossip Sewing:
http://sewing.craftgossip.com/tutorial-wrap-around-address-cuff-for-your-travel-bag/2010/06/21/
--Anne
Sarah- adorable as always! Hope you guys had fun at Disney. Can't wait to see what your tips are. We live only about an hour away from Disneyland and head down a few times a year....
I plan on sharing this tutorial on 30days. Hope that's ok.
BTW- have a few more books from the library that I checked out that are great. Will be posting on those too. :)
That's an awesome Idea!! I was thinking they would work great for lost kid tags as well!! At least for mine!!
Post a Comment